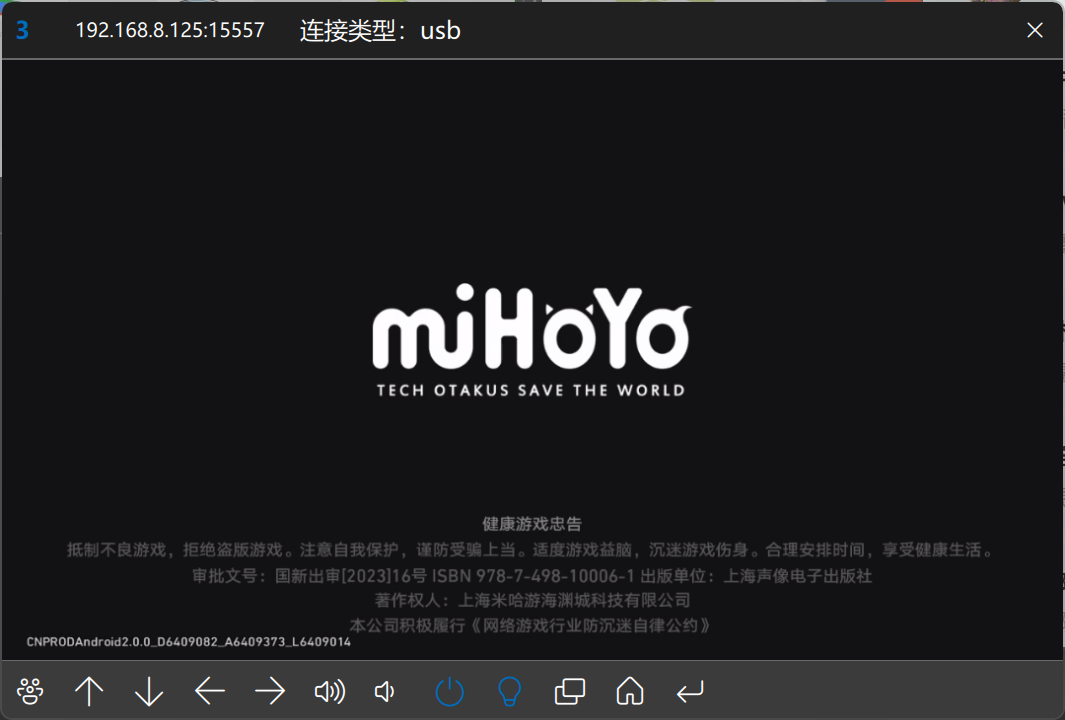
RK3588+GPU Redroid+StarRailCopilot实现星穹铁道自动化
环境准备
- 安装好内核版本为
5.10.160的系统的任意品牌RK3588开发板(性价比可选OrangePi 5 Plus)
- 系统推荐使用ubuntu-rockchip(注意,要安装22.04版本),该版镜像默认安装了redroid所需模块, 桌面版镜像自带了mali驱动,服务器版镜像需要自行安装
mali驱动mali_csffw.bin到/lib/firmware下
- 如果使用其他系统镜像,如缺少
binder_linux和ashmem_linux模块,请自行解决
- 操作方式可以是ssh,串口,或者直接连接显示器与键盘+鼠标
- 接下来的安装过程假定你处于root用户下,如果不是,请在命令前加上
sudo或者直接使用sudo -i切换到root用户
安装docker
1
|
curl -fsSL https://get.docker.com | bash
|
运行Redroid容器
 1
 2
 3
 4
 5
 6
 7
 8
 9
10
11
12
13
14
15
16
17
18
19
20
21
22
23
24
|
mkdir -p /opt/starrail_redroid
cd /opt/starrail_redroid
cat << EOT > docker-compose.yaml
version: '3'
services:
  starrail_redroid:
    image: registry.cn-shanghai.aliyuncs.com/docker_if/redroid-rk3588:12.0.0-latest
    container_name: starrail_redroid
    privileged: true
    restart: always
    stdin_open: true
    tty: true
    volumes:
      - ./data:/data
      - /dev/mali0:/dev/mali0
    ports:
      - 5555:5555 # 这里左边的端口可以自行修改,右边的端口不要动
    command:
      - androidboot.redroid_gpu_mode=mali
      - androidboot.redroid_height=720
      - androidboot.redroid_width=1280
      - androidboot.redroid_dpi=240 # 保持与src开发环境一致(否则养成规划界面的ui会不一样,无法正常使用)
EOT
docker compose up -d
|
注意,该redroid镜像的作者已经更新了镜像,这里使用的应该仍是旧版本镜像,但已经足够使用,如果有其他需要直接访问镜像作者的仓库:CNflysky|redroid-rk3588,根据README中的说明进行操作即可。
执行完上述命令后,稍等片刻(1~2分钟),然后使用scrcpy连接到该设备
1
2
|
adb connect <你的设备IP>:5555
scrcpy -s <你的设备IP>:5555
|
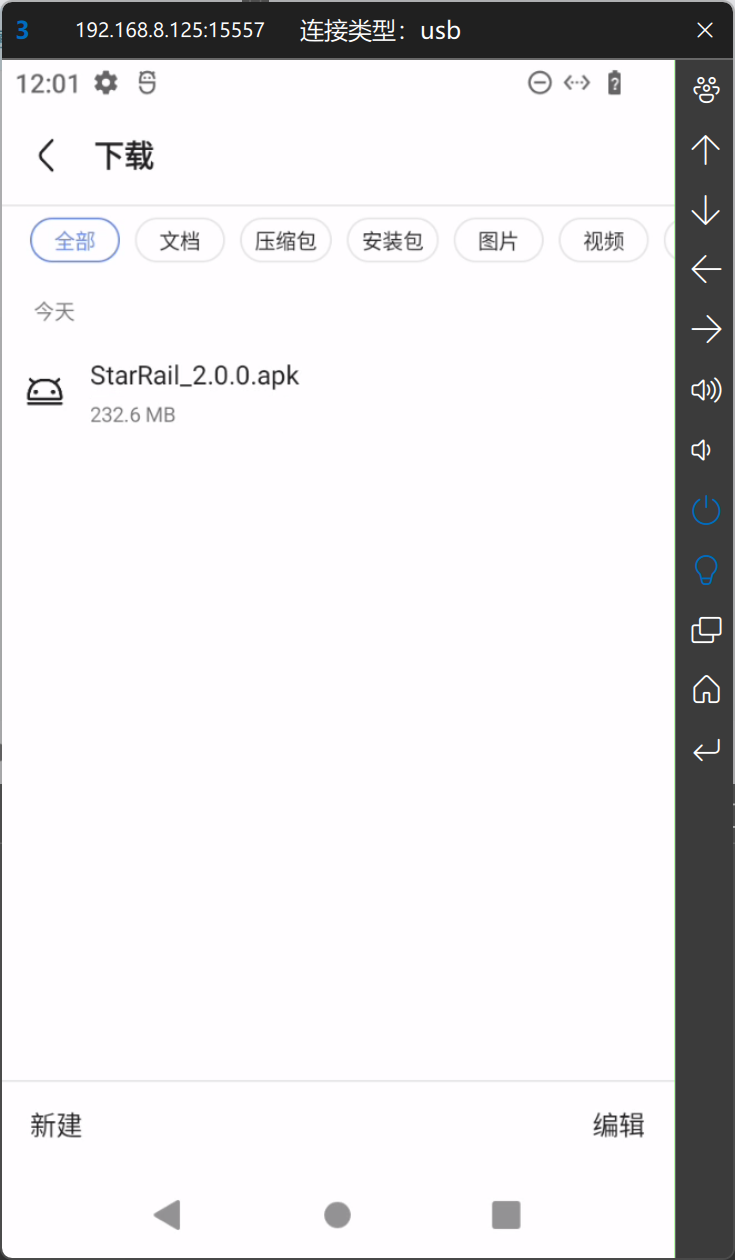
不出意外的话,你应该会直接进入系统,接下来只需进行星穹铁道的安装,你可以通过adb install命令安装apk文件,例如
1
|
adb -s <你的设备IP>:5555 install /path/to/StarRailCopilot.apk
|
也可直接往scrcpy窗口拖入apk文件,或者任意其他方法安装。安装完成后,打开游戏进行更新,就可以先放在一边不管了(理论上这部分用过手机的人都会)

 如果出现了意外,例如你迟迟无法连接到设备,大概率是你没有安装
mali驱动,请到环境准备中的链接下载并安装mali驱动,然后docker compose down删除容器,重新执行docker compose up -d即可
安装StarRailCopilot
1
2
|
git clone https://github.com/LmeSzinc/StarRailCopilot.git /opt/StarRailCopilot
cd /opt/StarRailCopilot
|
- 编辑配置文件,将其中若干指定了可执行文件路径的配置项进行修改
1
2
|
cp config/deploy.template-cn.yaml config/deploy.yaml
vim config/deploy.yaml
|


 1
 2
 3
 4
 5
 6
 7
 8
 9
10
11
12
13
14
15
16
17
18
19
20
21
22
23
24
25
26
27
28
29
30
31
32
33
34
35
36
37
38
39
40
|
cat << EOT > Dockerfile
FROM python:3.10.10

WORKDIR /app

COPY . /app

RUN echo "\
deb https://mirrors.aliyun.com/debian/ bullseye main non-free contrib\n\
deb-src https://mirrors.aliyun.com/debian/ bullseye main non-free contrib\n\
deb https://mirrors.aliyun.com/debian-security/ bullseye-security main\n\
deb-src https://mirrors.aliyun.com/debian-security/ bullseye-security main\n\
deb https://mirrors.aliyun.com/debian/ bullseye-updates main non-free contrib\n\
deb-src https://mirrors.aliyun.com/debian/ bullseye-updates main non-free contrib\n\
deb https://mirrors.aliyun.com/debian/ bullseye-backports main non-free contrib\n\
deb-src https://mirrors.aliyun.com/debian/ bullseye-backports main non-free contrib" \
> /etc/apt/sources.list

RUN apt update && apt install -y python3-dev git adb python3-opencv
RUN pip install --upgrade pip setuptools
RUN pip install --no-cache-dir -r requirements.txt

CMD [ "python", "gui.py" ]
EOT
cat << EOT > docker-compose.yaml
version: "3"

services:
  src:
    build: .
    container_name: src
    restart: always
    ports:
      - "22367:22367"
    volumes:
      - '.:/app'
      - '/etc/localtime:/etc/localtime:ro'

EOT
docker compose up -d
|
启动后,浏览器打开http://<你的设备IP>:22367,即可进入StarRailCopilot的Web界面进行操作,设备Serial即为<你的设备IP>:5555(如果你没有修改的话)
更多使用说明请参考StarRailCopilot

在你一切设置完毕后,可以修改docker-compose.yaml文件,覆写command字段,以便在容器启动时src自动运行
在src服务下添加command字段,然后docker compose up -d即可,如下:
1
|
command: ["python", "gui.py", "--run", "src"]
|
完整的docker-compose.yaml文件如下:
 1
 2
 3
 4
 5
 6
 7
 8
 9
10
11
12
13
|
cat << EOT > docker-compose.yaml
services:
  src:
    build: .
    container_name: src
    restart: always
    ports:
      - "22367:22367"
    volumes:
      - '.:/app'
      - '/etc/localtime:/etc/localtime:ro'
    command: ["python", "gui.py", "--run", "src"]
EOT
|
补充
- 以上两个docker-compose.yaml中的service可以合并到一起,在项目上层文件夹编写docker-compose和Dockerfile文件,然后使用
docker compose up -d启动即可,有兴趣的朋友可以自行尝试
附录


 如果出现了意外,例如你迟迟无法连接到设备,大概率是你没有安装

